Settings
Settings
The Application Configuration section allows administrators to manage access, roles, and workspaces in Crestone. From this panel, you can define who can use the platform, what they can do, and how data is organized across different teams or projects.
Below is a step-by-step guide to help you set up the essential components of your environment:
Create new Role
Roles define what actions a user can perform in the system.
To create a new role:
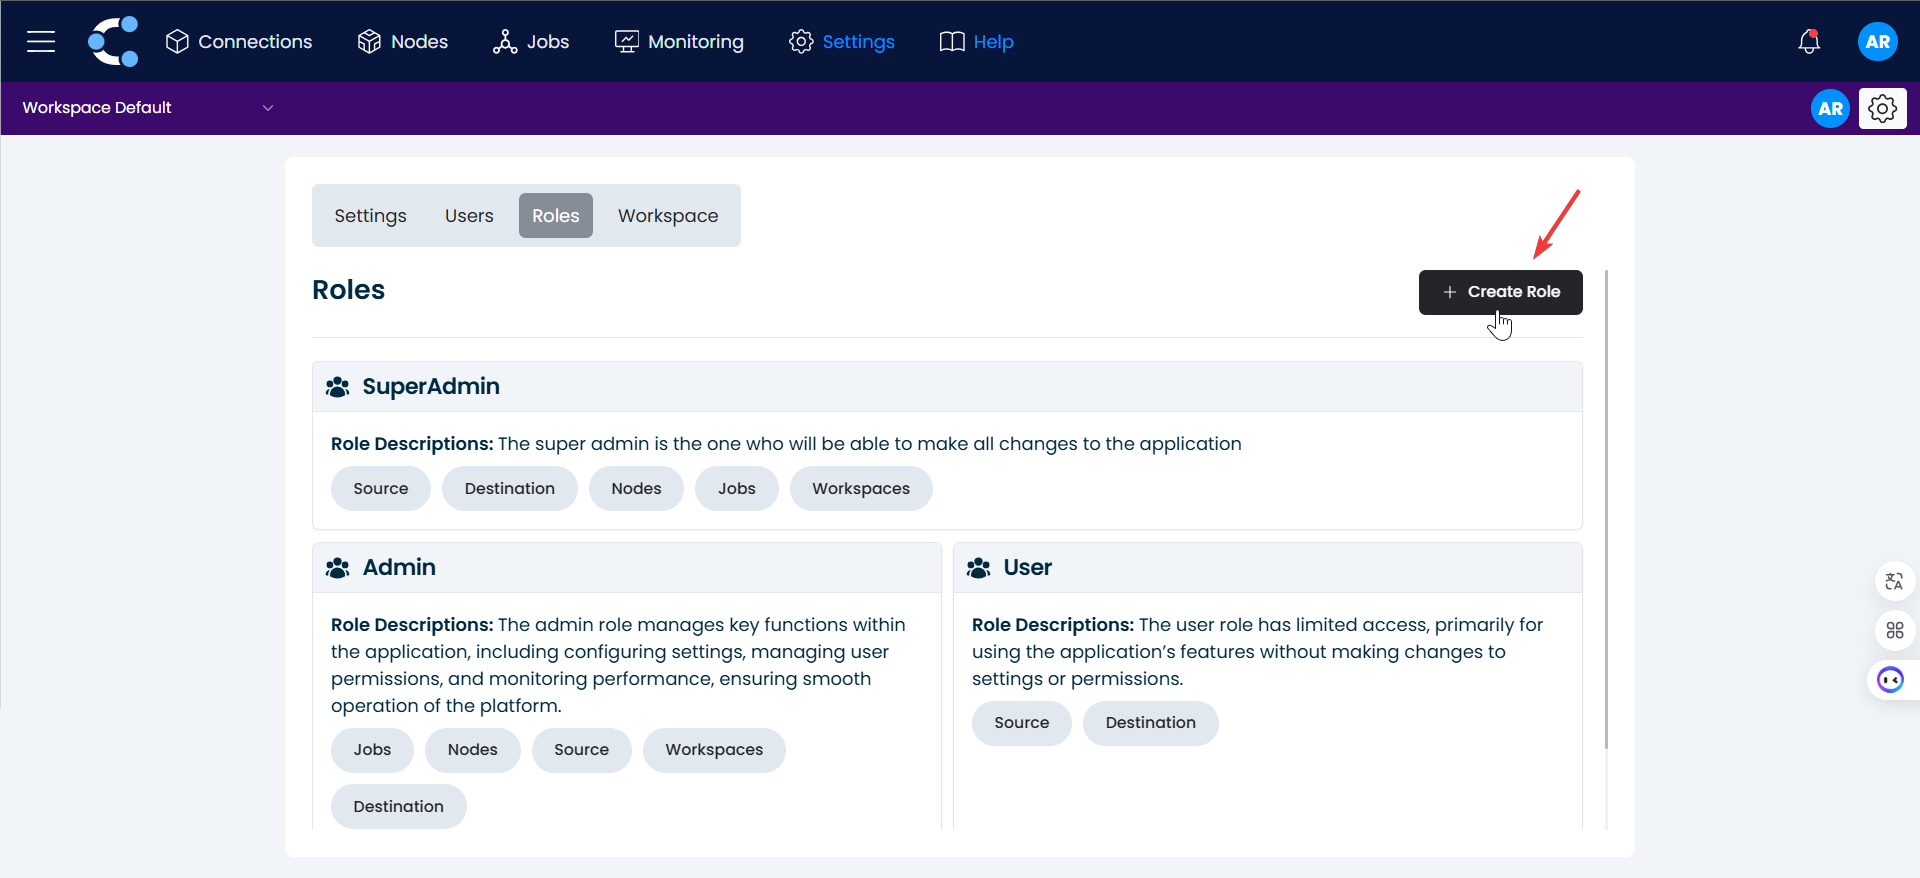
1. Create Role
Click on the "Create Role" button.
2. Naming
Enter the name and description of the new role.

3. Assigning permissions
In the permissions section, select the functions you want the role to have.
4. Done
Click on "Create Role".
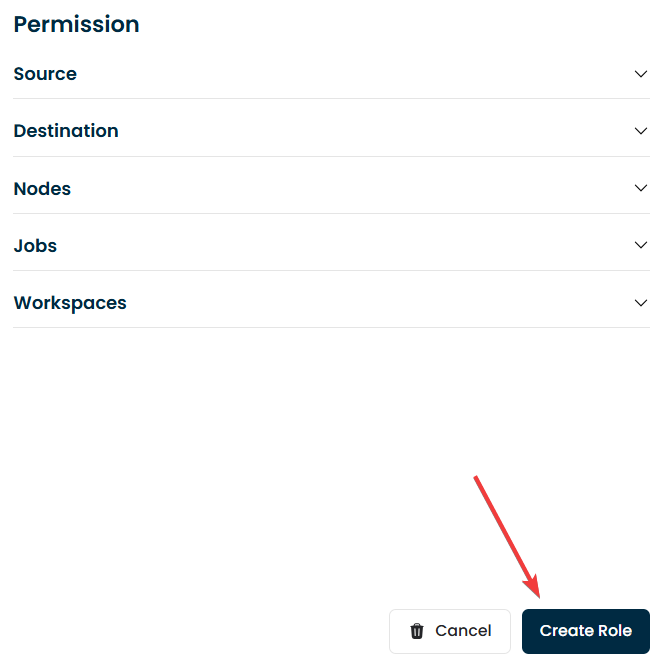
And that's it! The role has been successfully created.
Create new User
Users must be assigned to a role to access the platform.
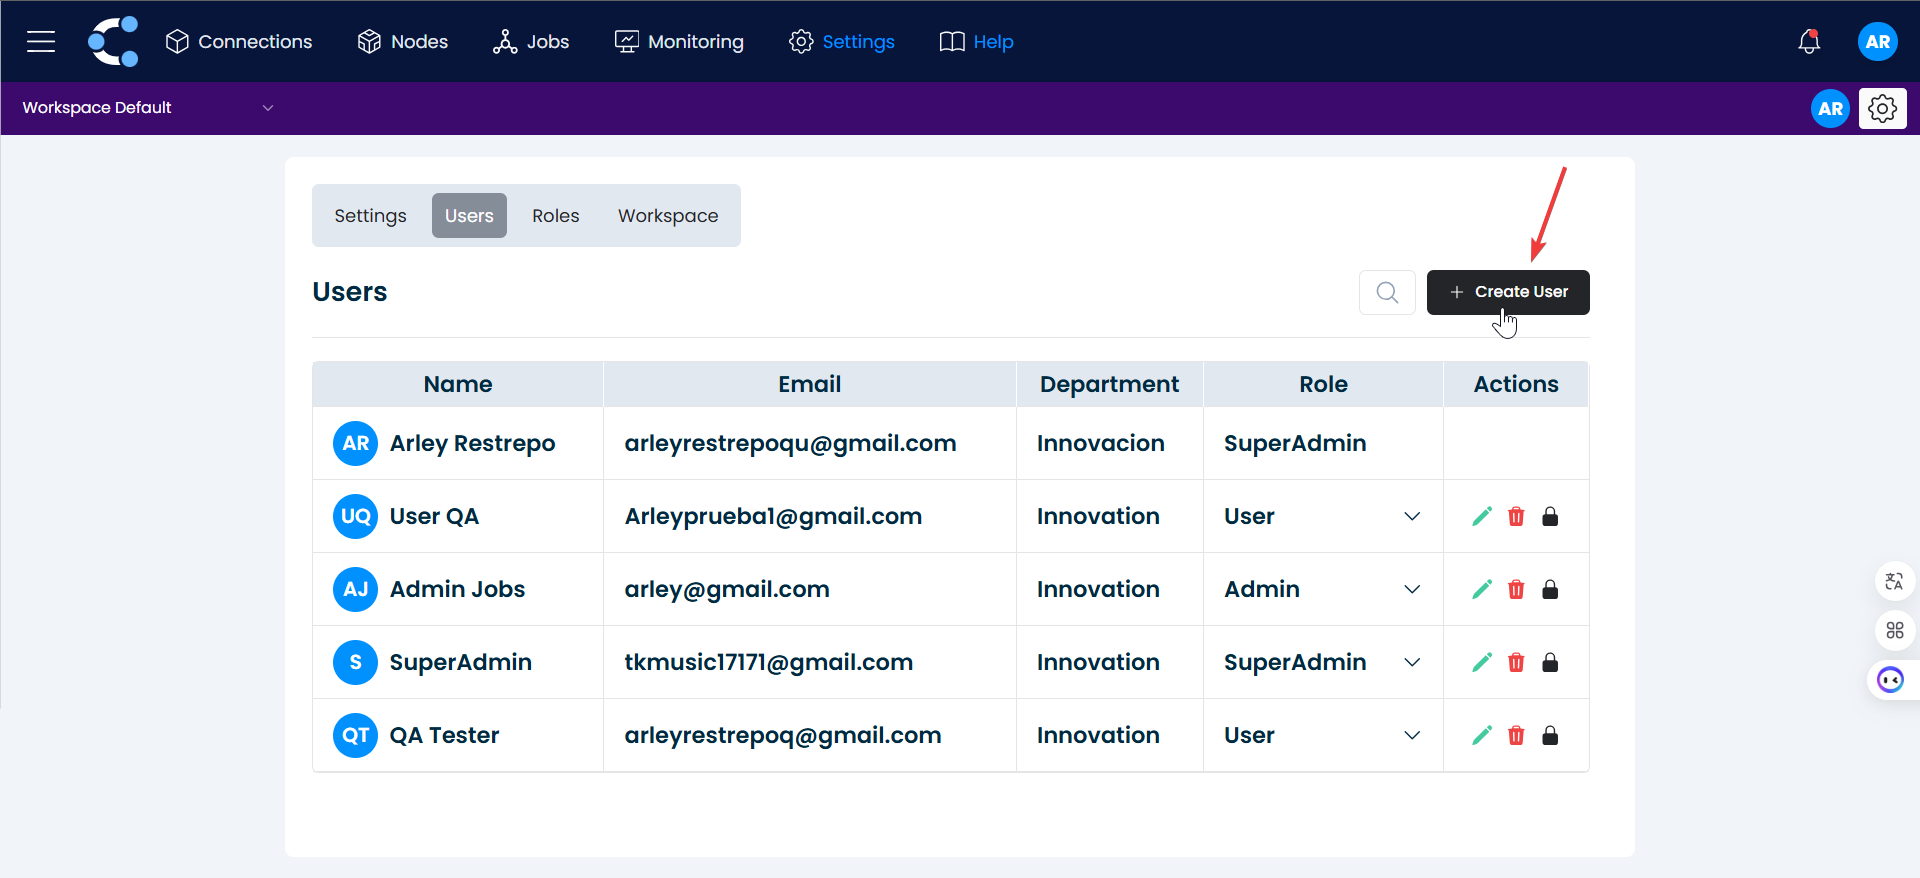
Steps to create a User:1. Create User
Click on the "Create User" button.
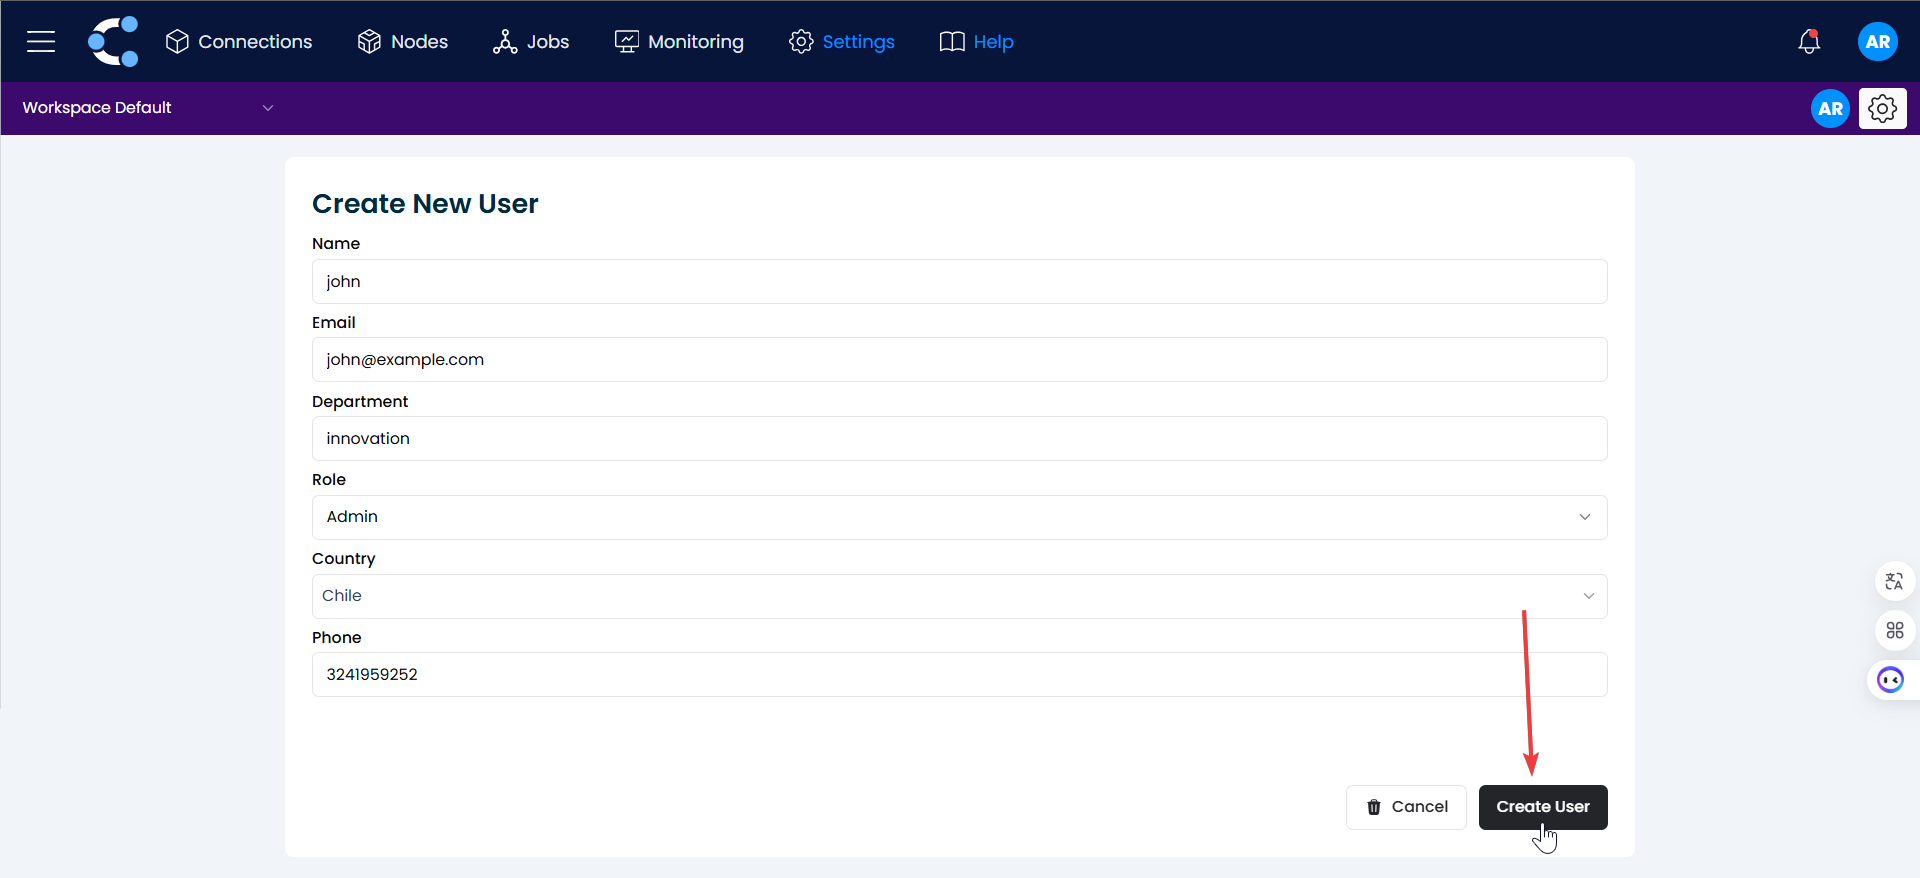
2. Fill out the form
You will be taken to a form where you must fill in the empty fields with the new user's information.
3. Confirm the creation
Click on "Create User".
And that's it! The user has been successfully created.
Create new Workspace
Workspaces help organize jobs, connections, and destinations by project, department, or team.
Steps to create a Workspace:
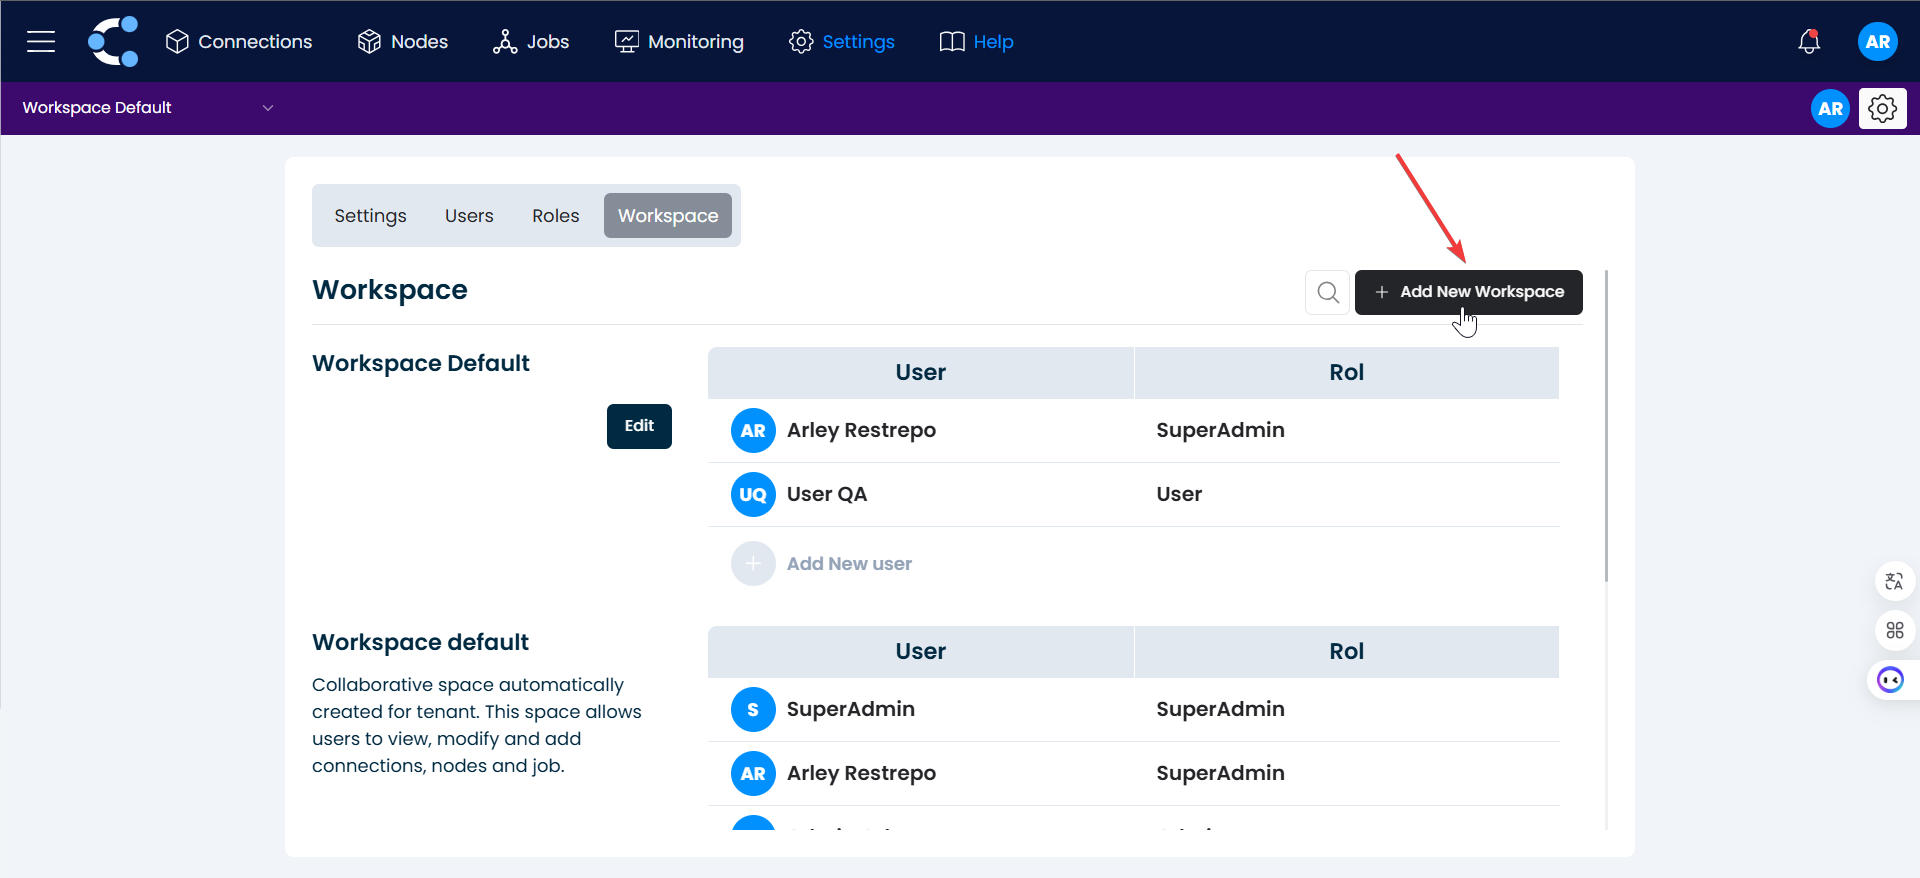
1. Add New Workspace
Click on the "Add New Workspace" button.
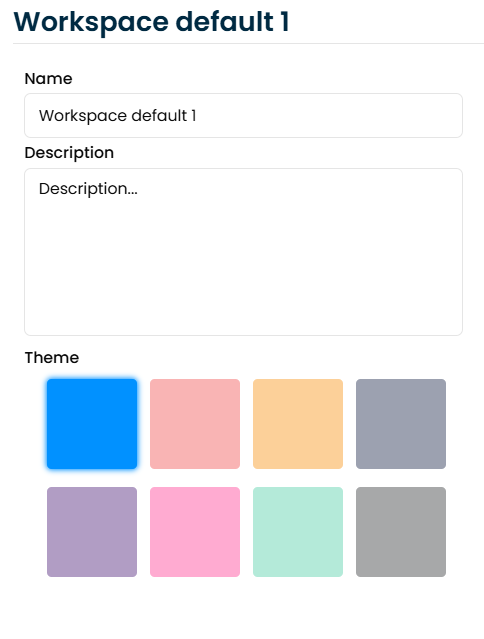
2. Naming
Add the name and description for the workspace.
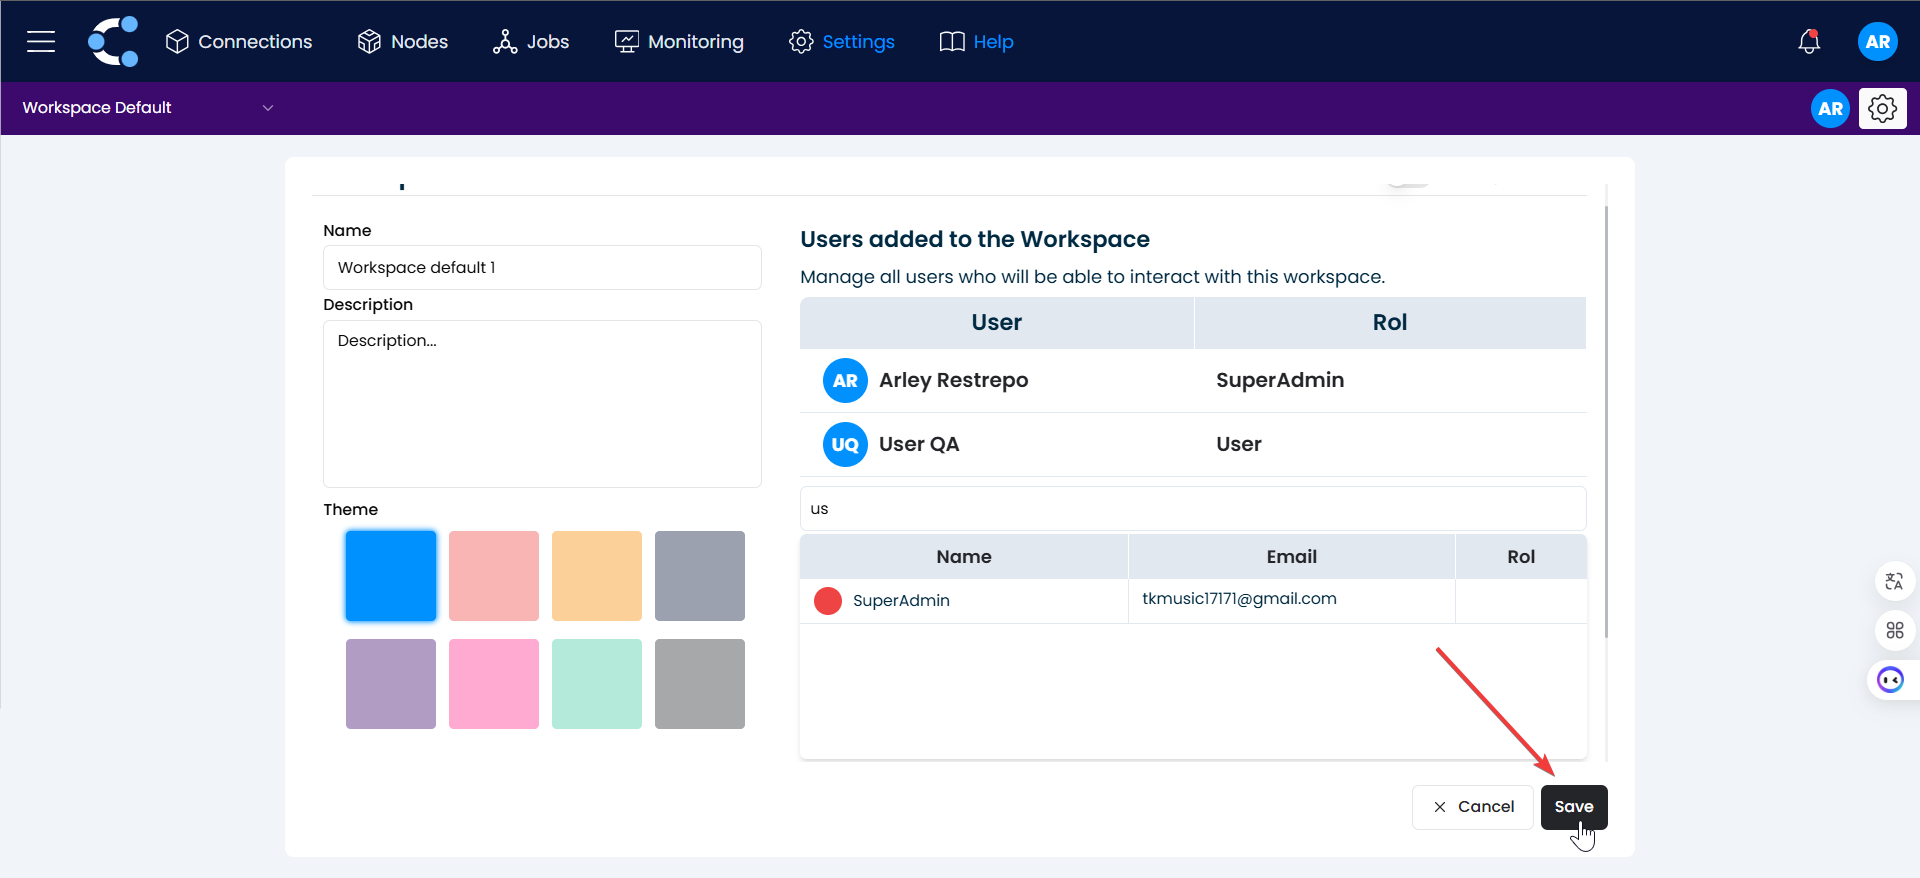
3. Add new user
Click on "Add new user", search for the user you previously created, and click on their name to add them to the workspace.
4. Save
Click on "Save".
And that's it! The workspace has been successfully created.