Quickstart
Quickstart
End-to-End Example: SAP ➜ AWS S3 and Snowflake
This example demonstrates how to configure a complete workflow in Crestone to extract data from SAP ABAP and transfer it to destinations in AWS S3 and Snowflake.
Step 1: Create Connection
Create new source
Enter the required data to be able to connect correctly with your destination.
Create a SAP Source
- Go to Create Connection.
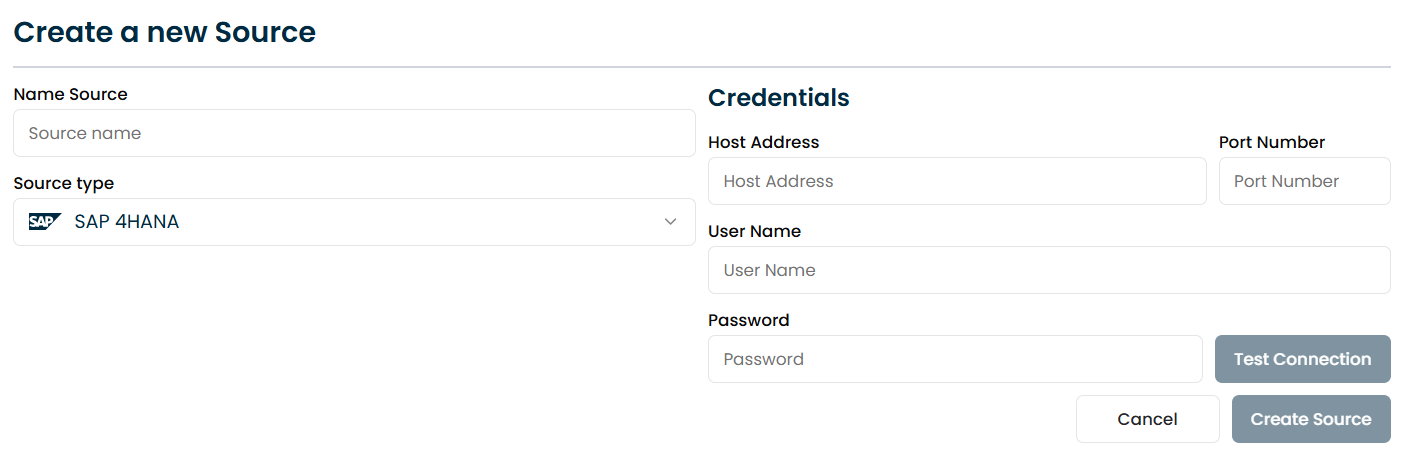
- Enter the following information:
- Connection Name:
SAP_KNA1_Connection - Connection Type:
SAP HANA - Host:
sap.example.com - Port:
30015 - Username:
USERNAME - Password:
PASSWORD
- Connection Name:
- Click Test Connection.
- Once validated, click Create.
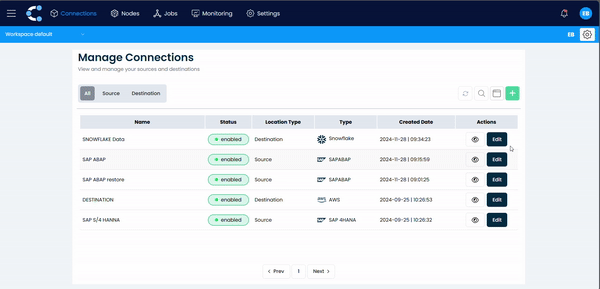
- If you require more information on connections, please see the connections page.
Note: Ensure the SAP HANA connection is enabled and the credentials are correct, as this is critical for data extraction.
Create New Destination
Enter the required data to be able to connect correctly with your destination.
Create a AWS S3 Destination
-
Go to Create Destination.
-
Enter:

- Name:
AWS_S3_Destination - Type:
S3 - Bucket:
crestone-demo-bucket - Region:
us-east-1 - Access Key ID:
AKIA... - Secret Key:
********
- Name:
-
Click Test Connection If the connection is valid, you can continue.
-
Click then Createand you're done.
Create a Snowflake Destination
- Go to Create Destination.
- Enter:
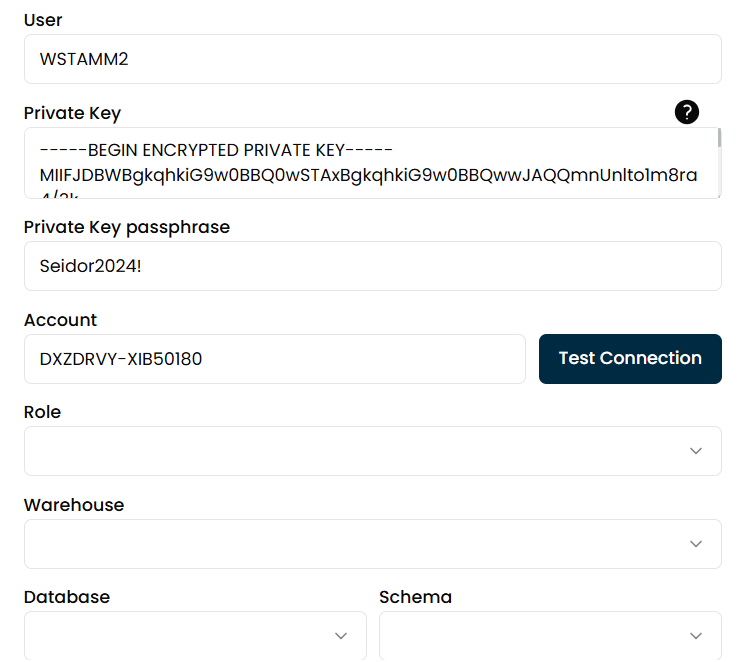
- Name:
Snowflake_Destination - Username:
SF_USER - Private Key:
-----BEGIN PRIVATE KEY----- ... - Private Key Password:
password - Account:
xyz12345.us-east-1
- Name:
- Click Test Connection.
- Then select:
- Role:
SYSADMIN - Warehouse:
COMPUTE_WH - Database:
CRESTONE_DB - Schema:
PUBLIC
- Role:
- Click Create.
Note: Refer to the Snowflake documentation for advanced configuration details.
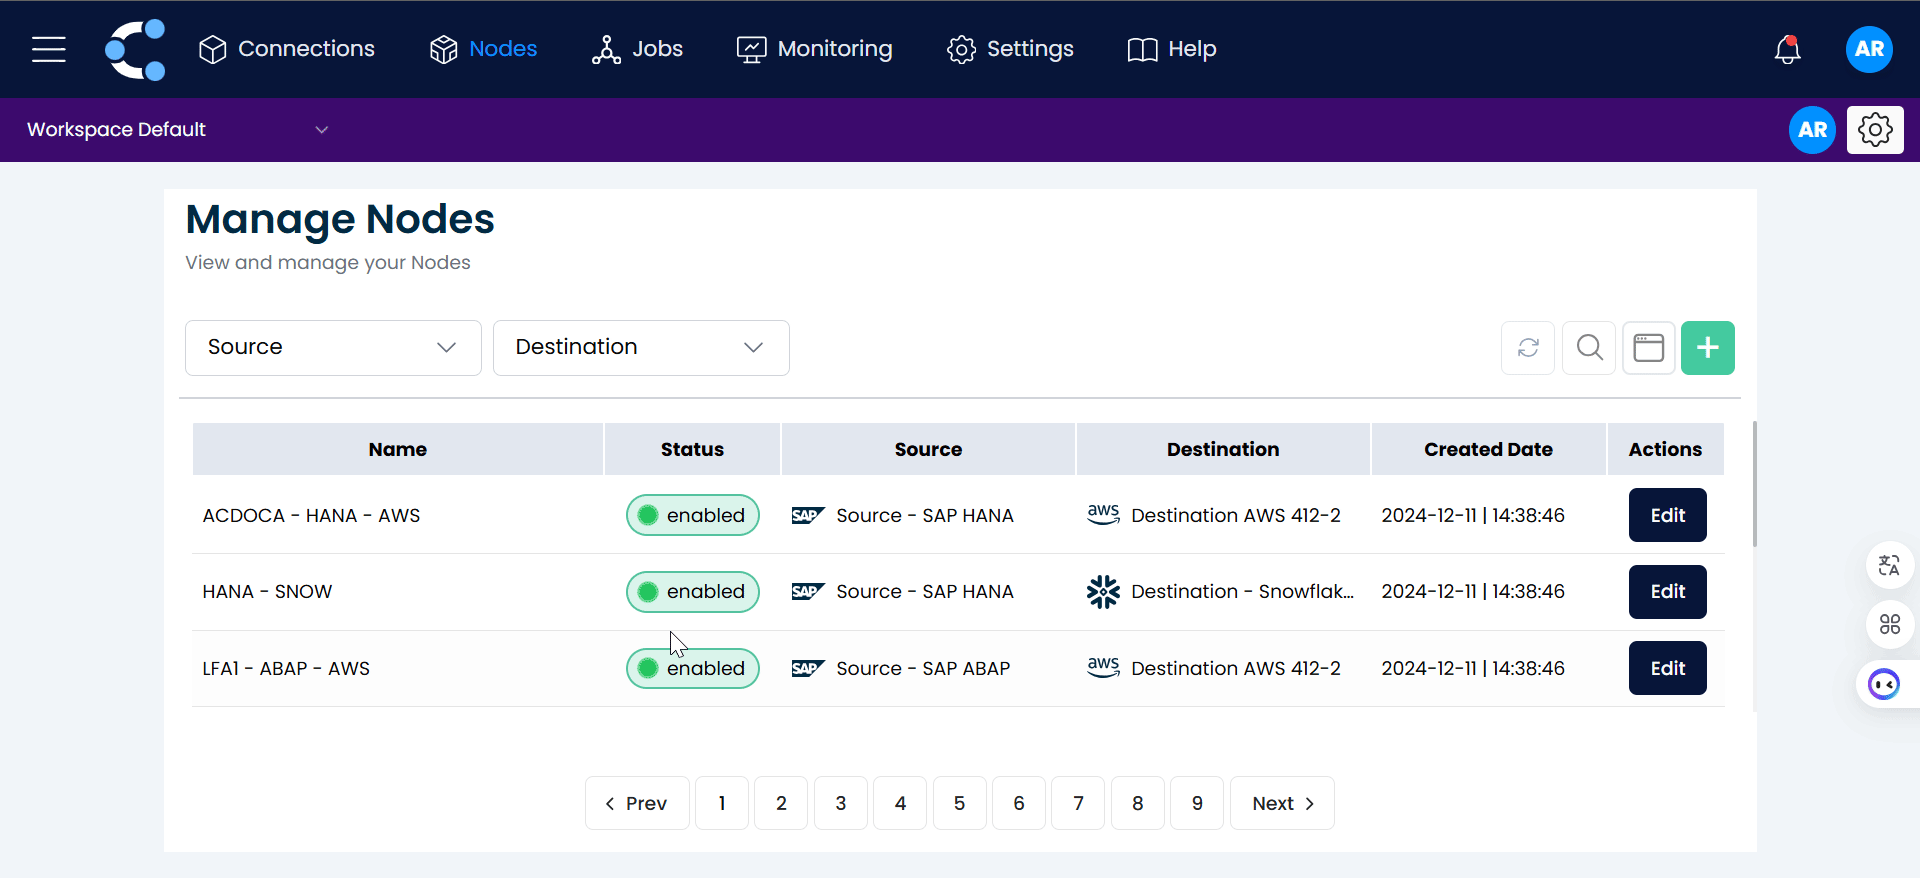
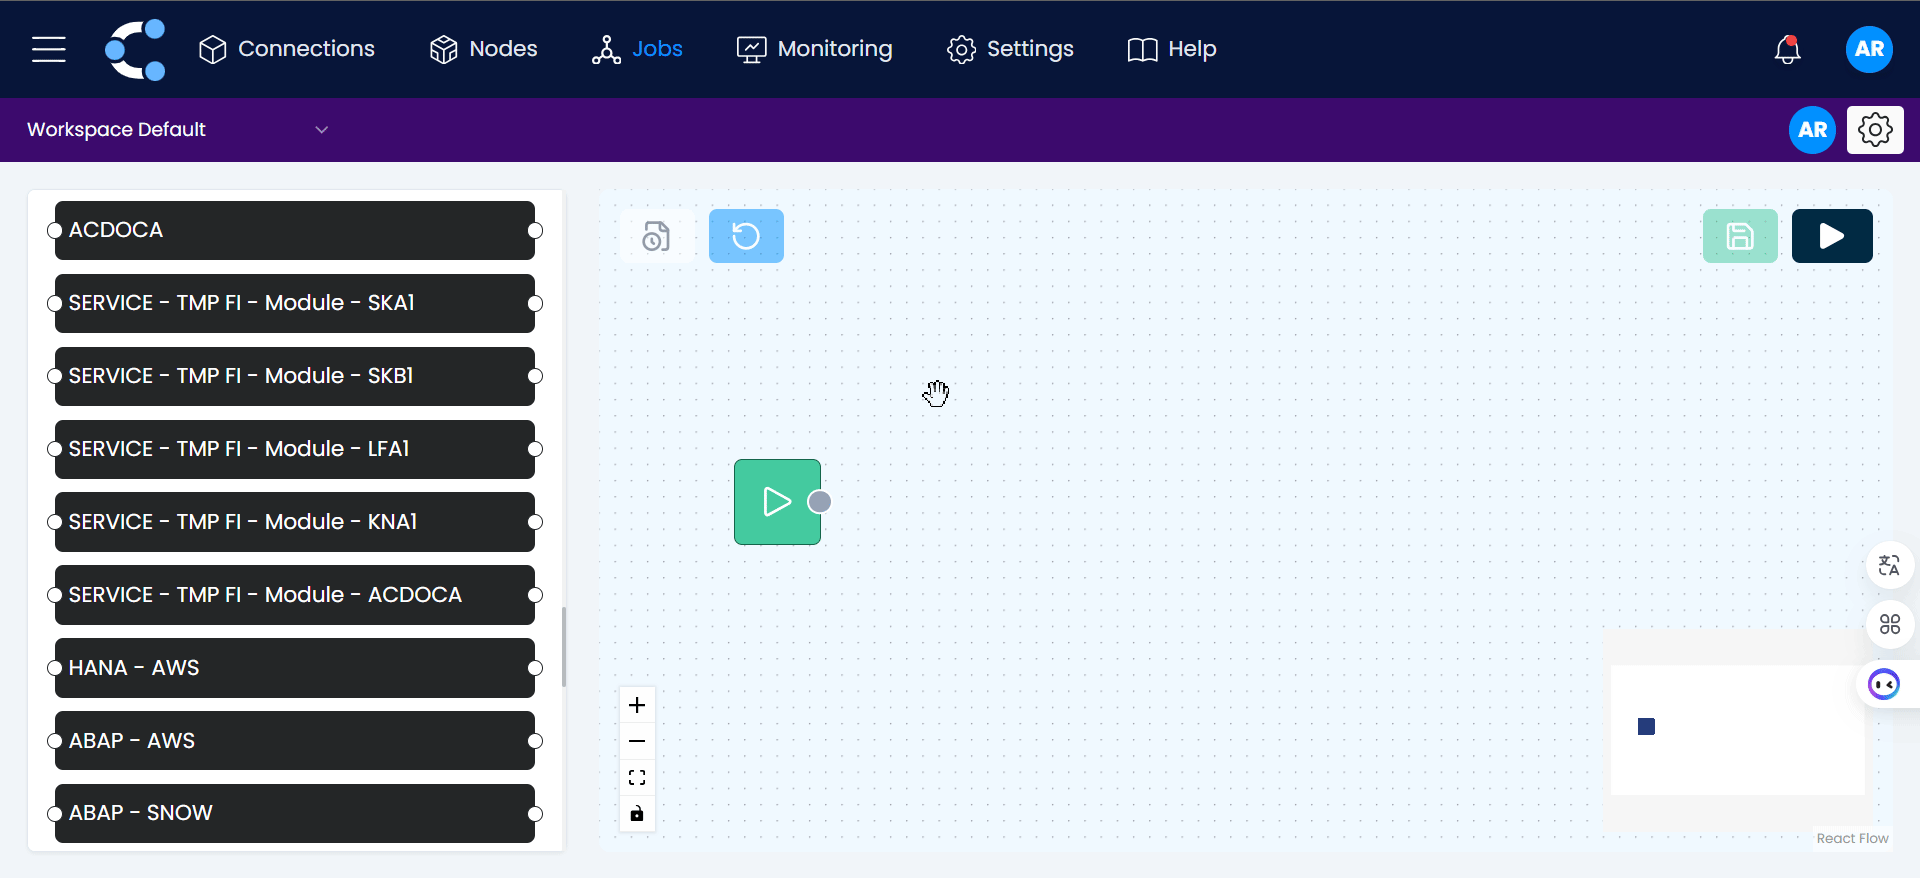
Create Nodes
For node creation, it is essential to have previously established at least one Souce and one Destination.These connections are fundamental, as the nodes will depend on them to effectively synchronize the data. Make sure to properly configure both ends before proceeding with node creation.
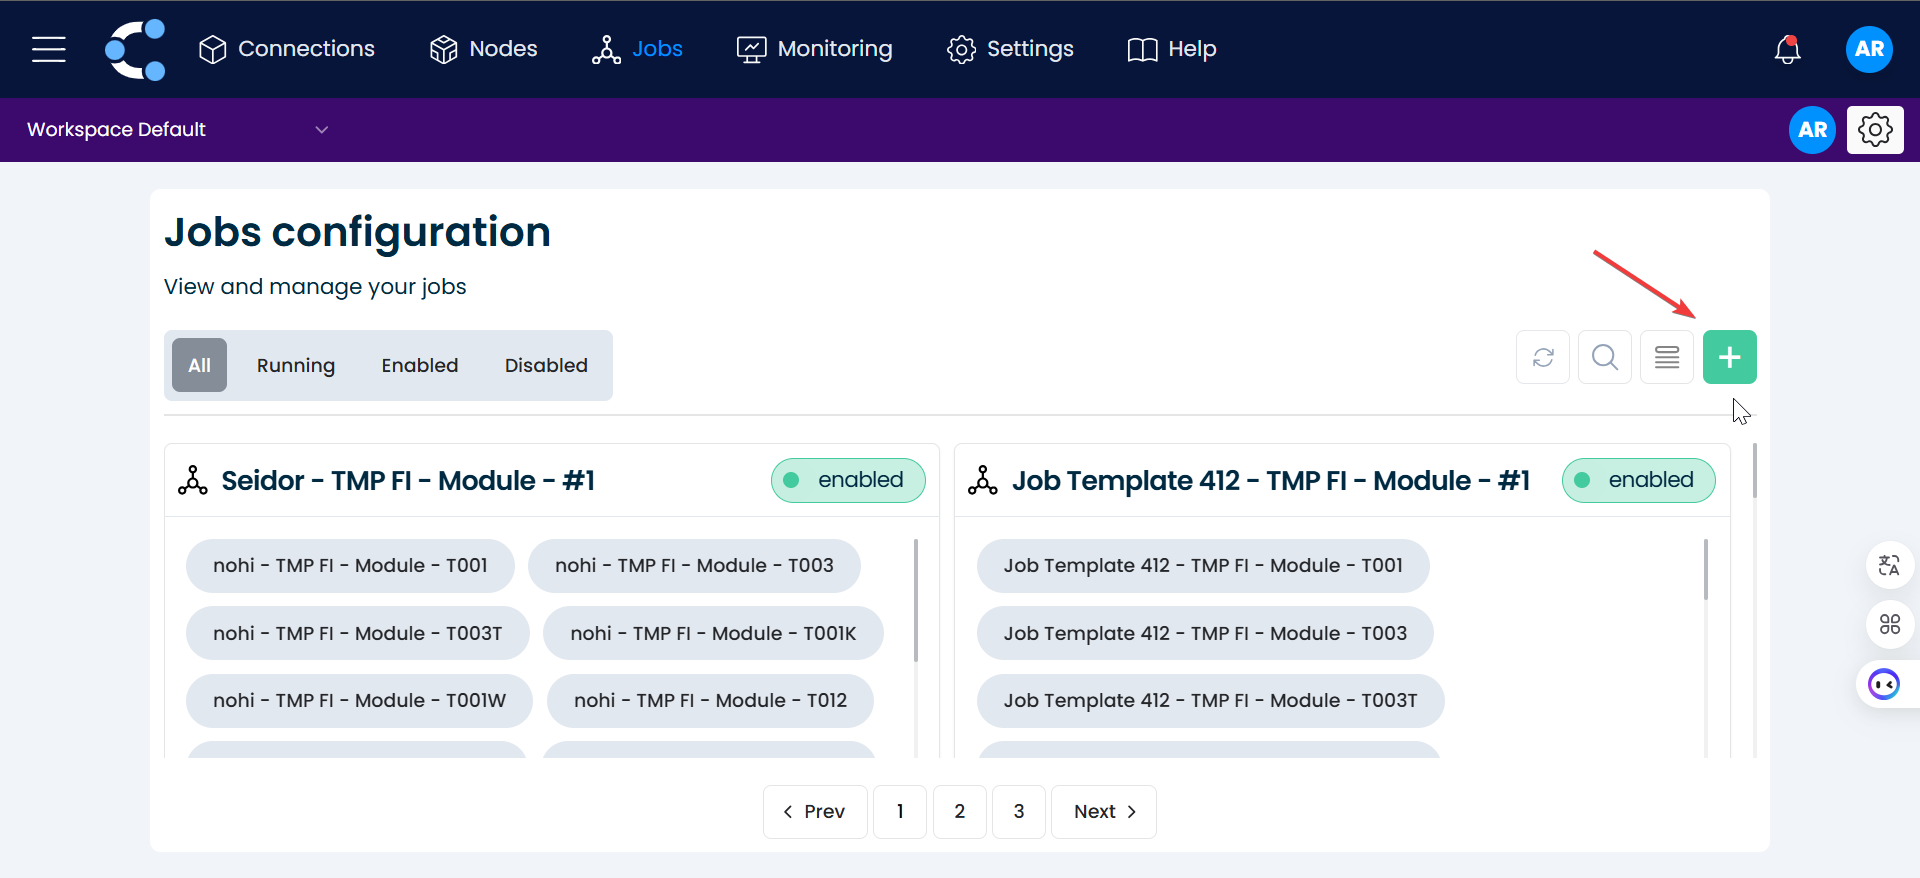
Create a new JOB
To generate a Job it is required that at least one node has been generated.
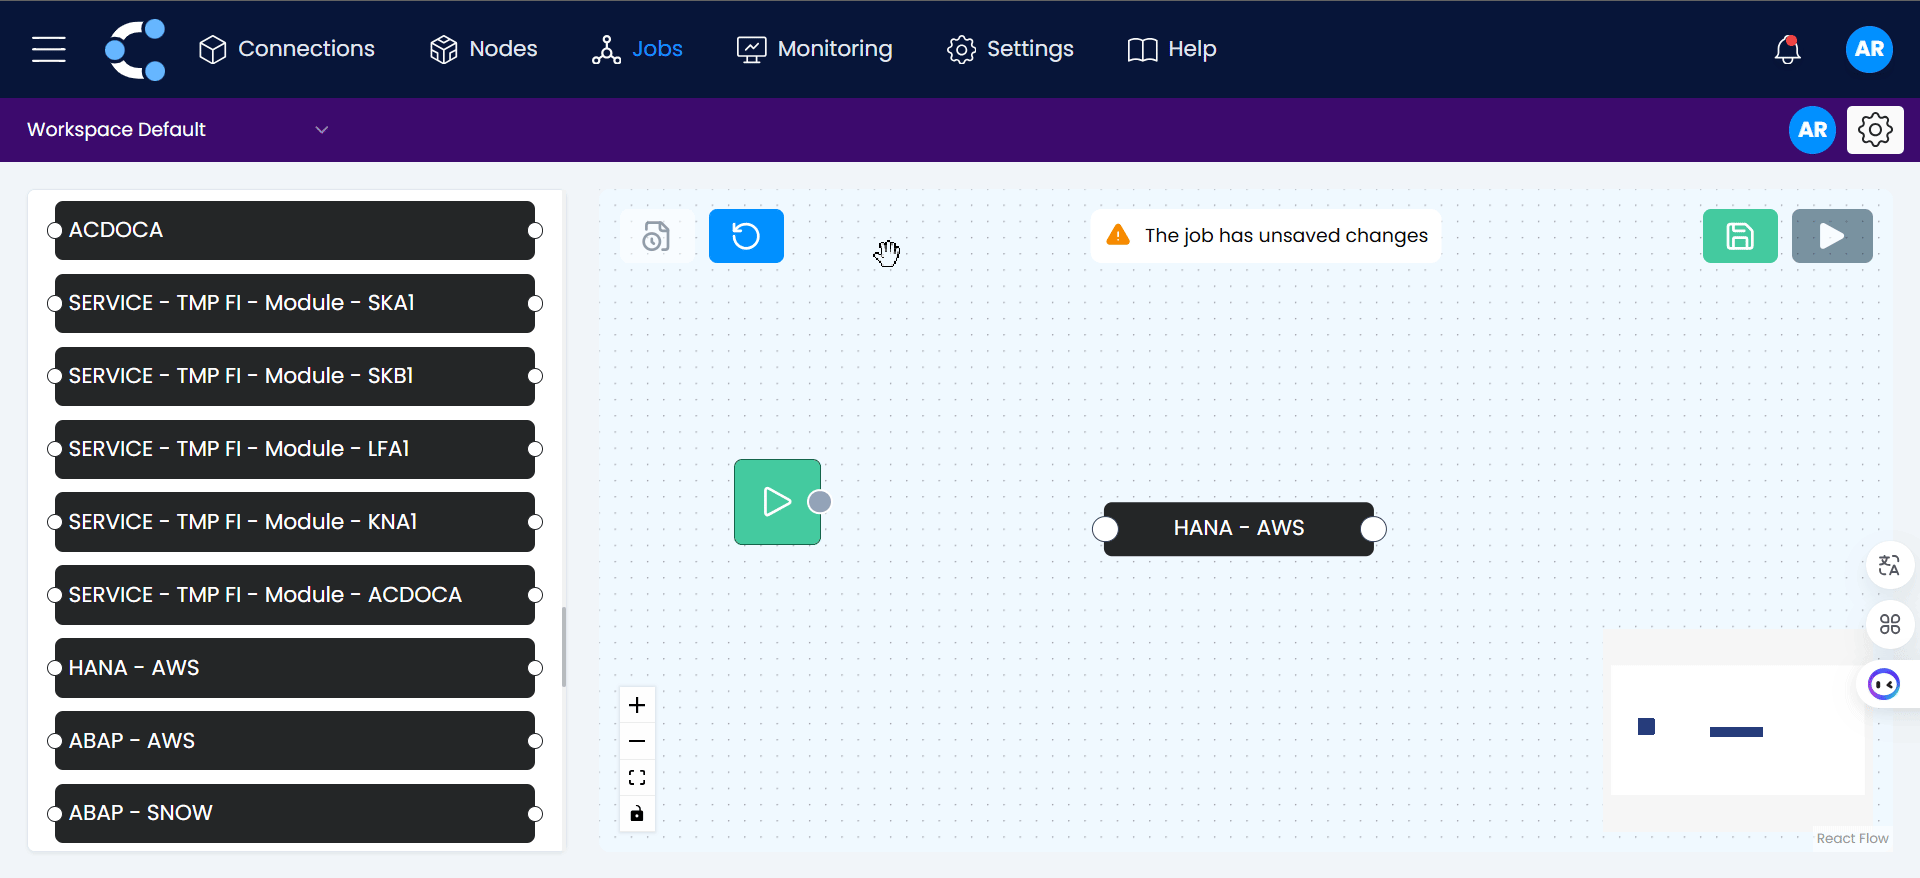
-
Click on the "Create Job" button.
-
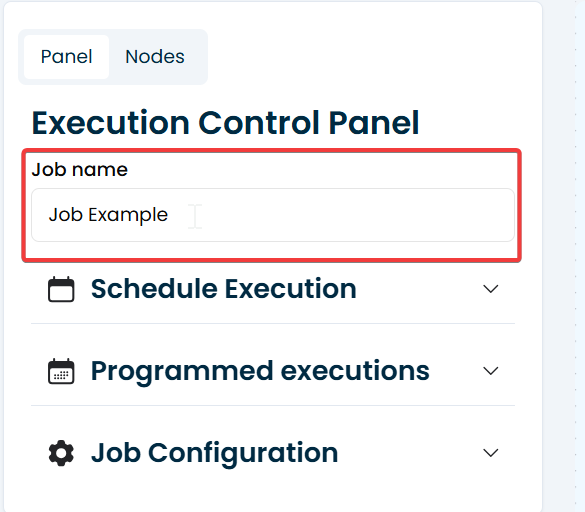
Change the name of the Job.
-
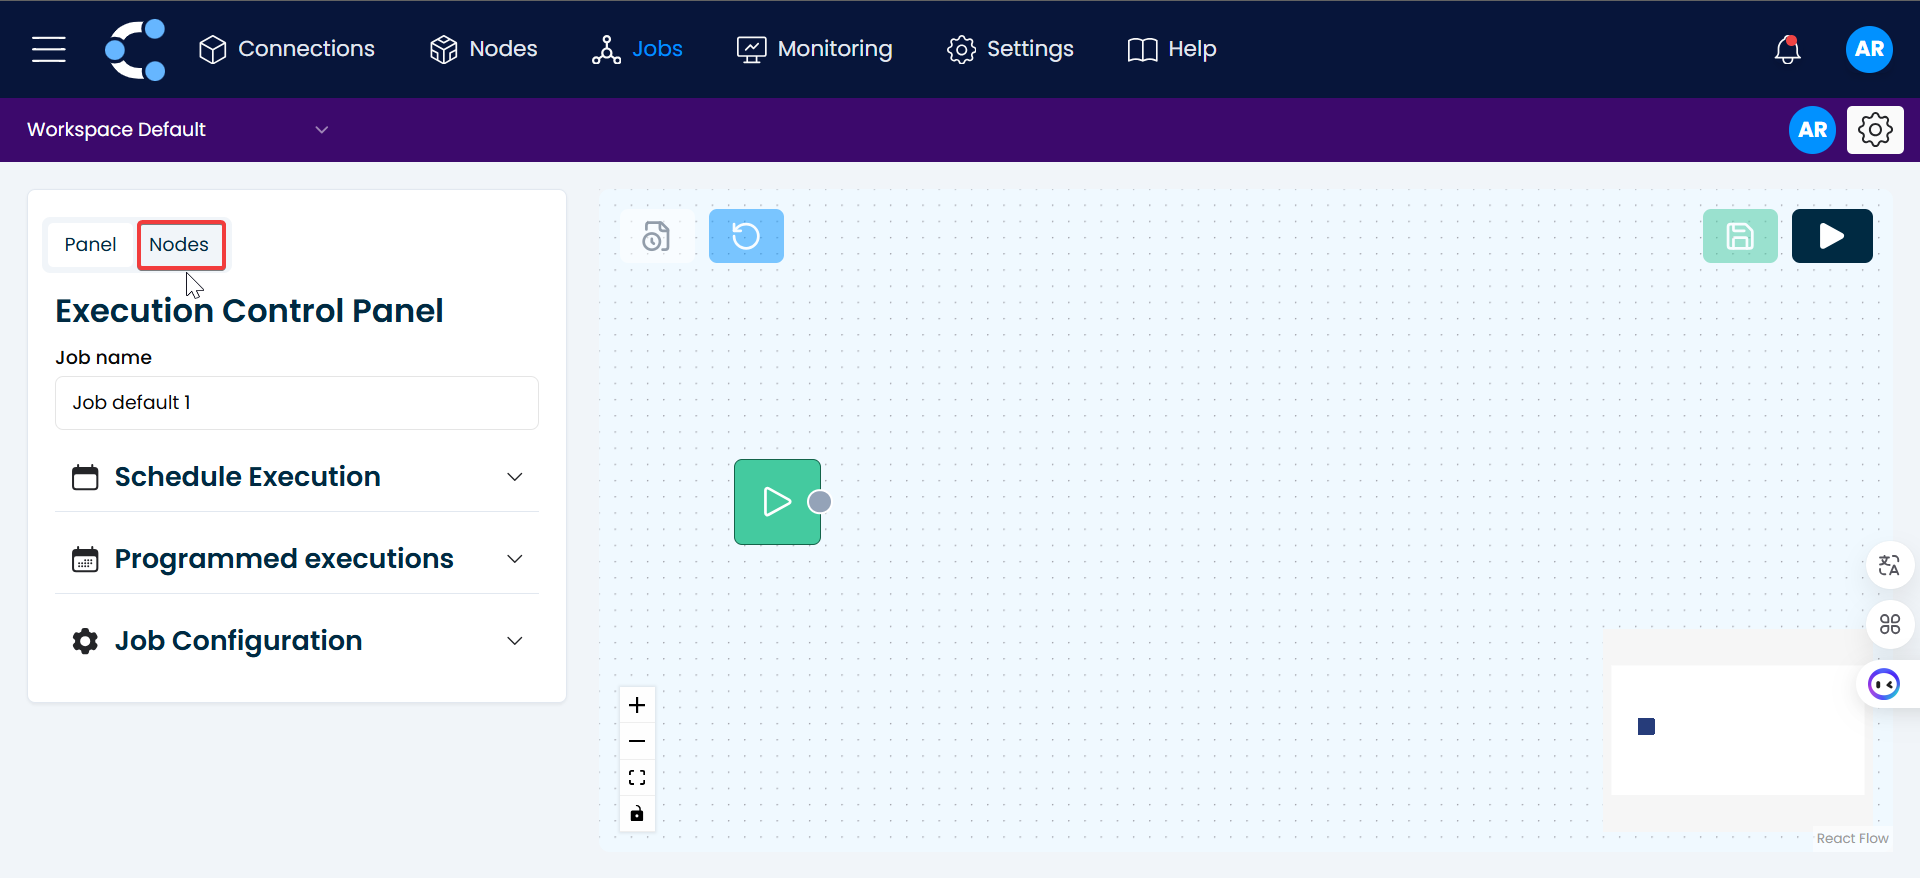
Click on "Nodes".
-
Select the control node and drag it to the right, along with the extraction nodes you need.
-
Link the nodes together.
-
Click the green button to save the changes.

-
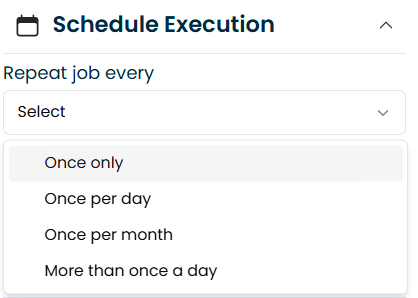
Executes the job or schedules its execution.