Snowflake
Snowflake
How to create a destination with Snowflake
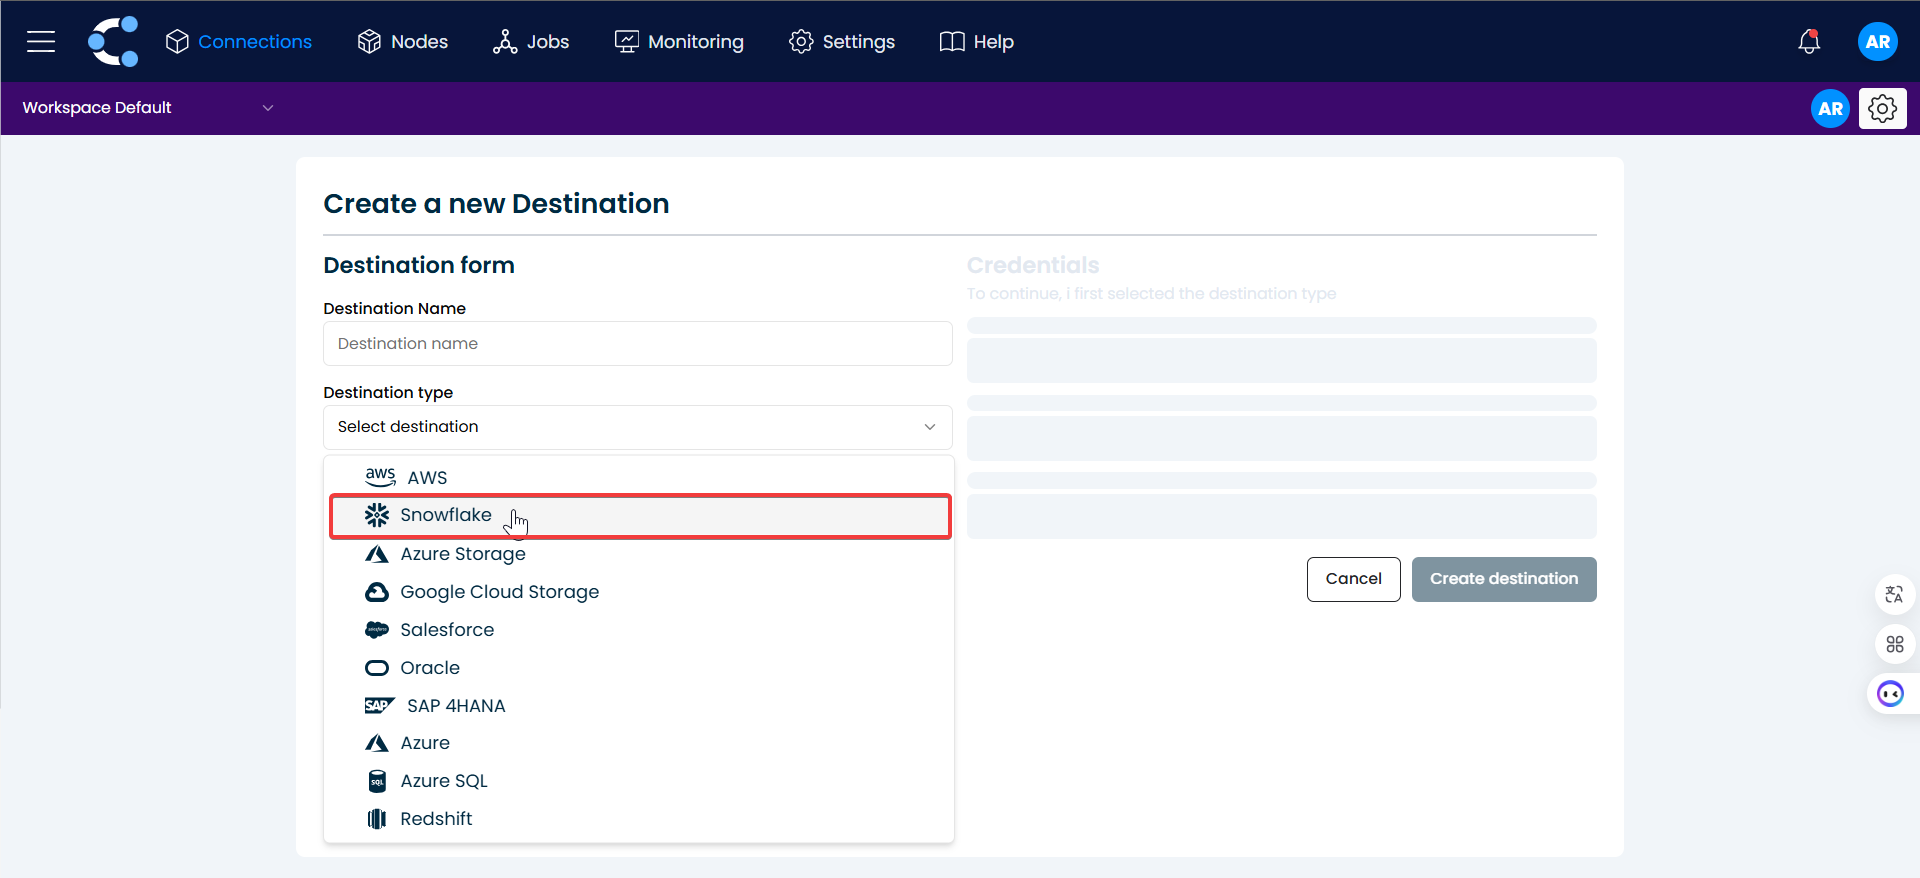
1. Select the destination type:
- Select the "Snowflake" option for the destination type.
2. Enter Snowflake credentials:
- You will be shown a section where you must enter the credentials to connect to your Snowflake account.
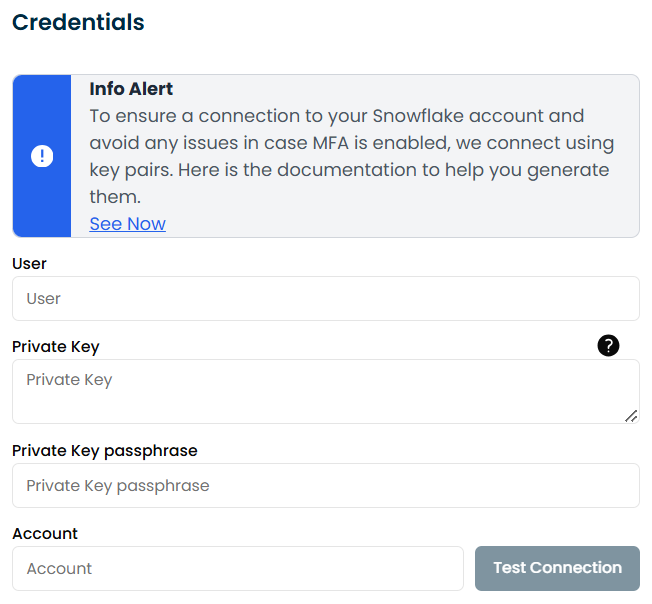
Enter the user name:
- For the User input, you will enter the user name with which you registered in Snowflake (The name must be in all capital letters), for password, you will enter the password with which you registered in Snowflake.
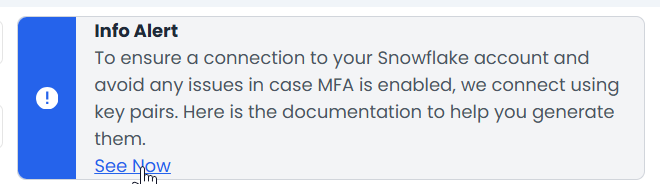
Enter the Private Key and Private Key passphrase: To obtain the private key, you need to follow the steps provided in the Key-pair authentication and key-pair rotation section, which you can view by clicking on "See Now" in the "Info Alert".
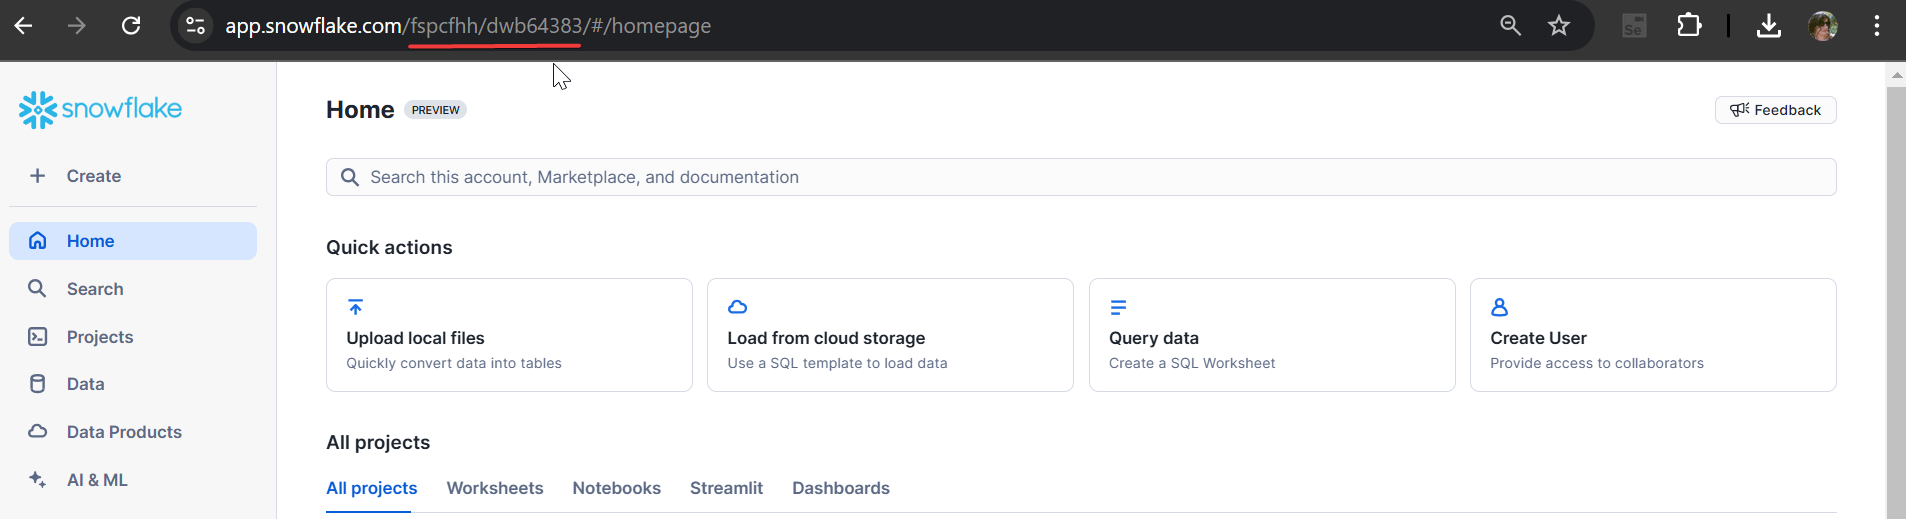
Enter the account:
-
For Account, you need to go to Snowflake and copy from the url the account name that Snowflake assigned to you.
-
In this case it is
“fspcfhh/dwb64383”, copy it and change the "/" to "-" -
It should look something like this:

3. Click on the “Test Connection” button
Enable the inputs below.
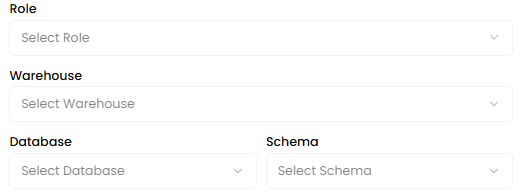
4. Configure the inputs of Role
Warehouse, Database and Schema as you wish to establish the connection to Snowflake and finally click on the “Create Destination” button.
Exporting data to Snowflake
Crestone allows you to connect your SAP environment to Snowflake flexibly and securely. When configuring a node with Snowflake as the destination, you can decide how the data will be exported: either as a file in an intermediate stage or by inserting the data directly into a table.
This option is key to adapting the behavior of the extraction process to your technical or data governance needs: