Import & export
Import & export
The ability to import and export jobs in Crestone allows users to share, replicate, and back up workflows with ease. You can export your current job configuration into a JSON file and import it later in a different workspace or instance, making collaboration and deployment significantly more efficient.
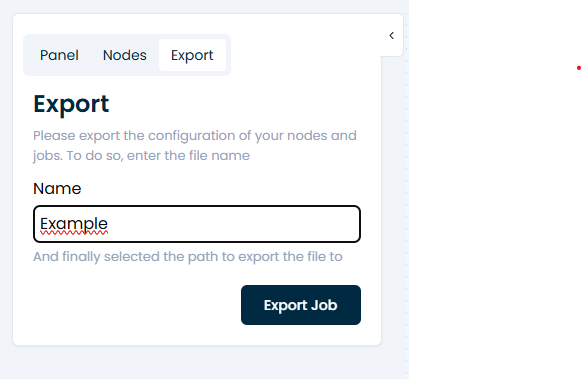
1. Export a Job
In the top-left section of the job editor, click on the “Export” button. You’ll be prompted to enter a filename for the exported job.
- If this field is left empty, the system will use the Job Name as the default file name.
- The job will be exported as a .json file containing all node structures and job metadata (excluding credentials for security reasons).
2. Import a Job
From the Jobs tab, click on "Add New Job" and select "Import". This will start the guided import flow.
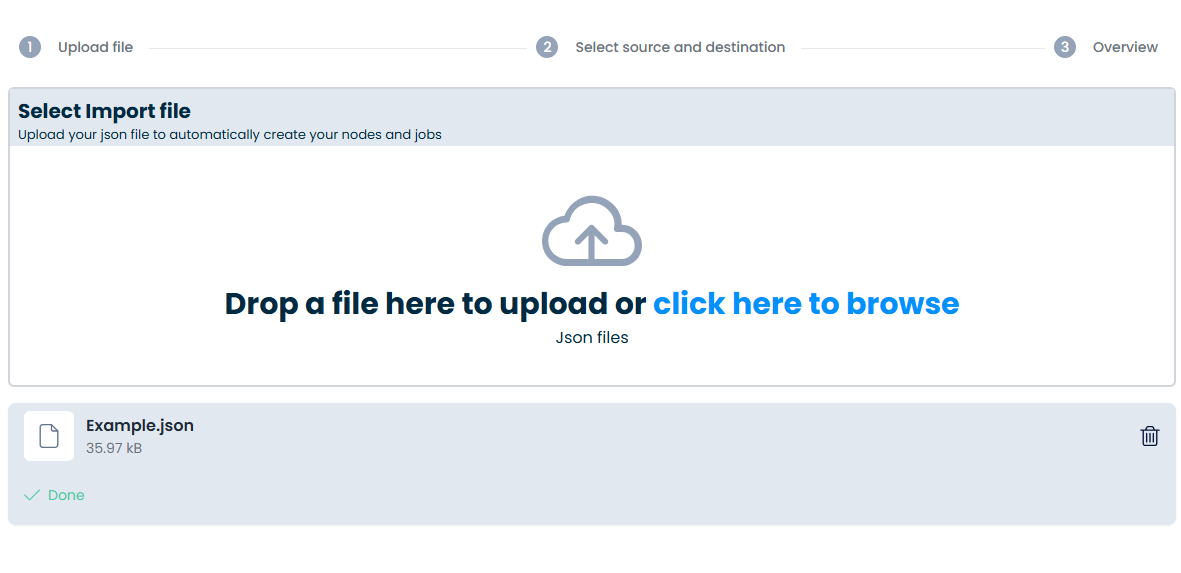
3. Upload a File
Drag and drop or manually select your previously exported .json file.

Once uploaded, Crestone will begin processing the contents of the file and load the relevant configuration.
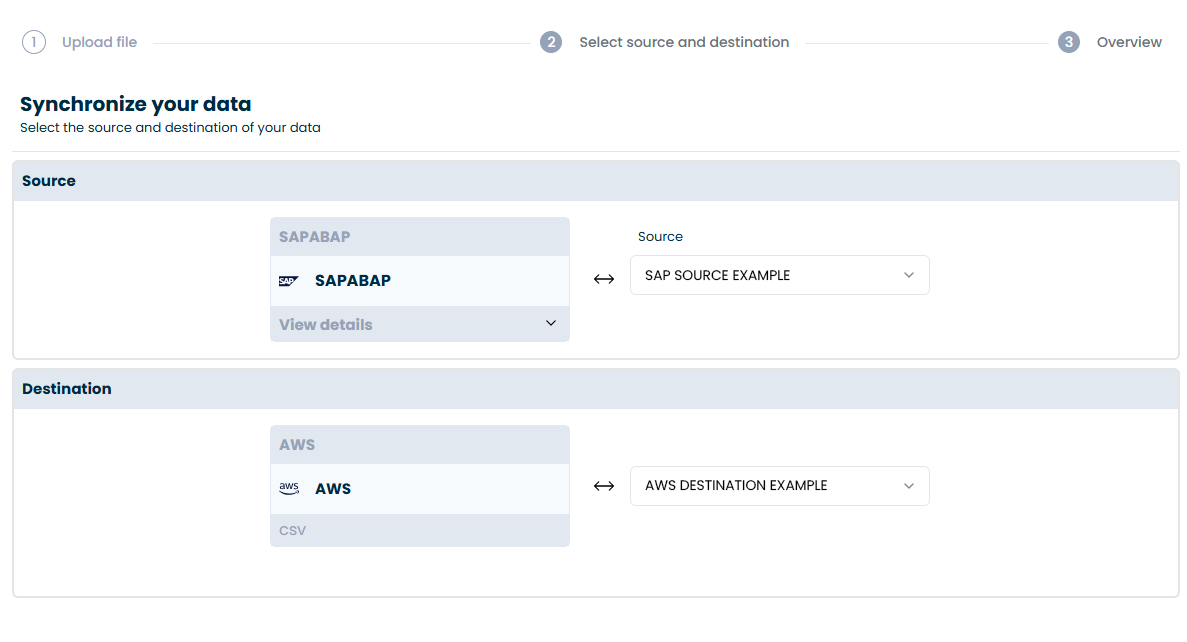
4. Match Data Connections
For security reasons, credentials are not included in the exported file. You'll need to match the required sources and destinations with existing connections in your environment. These connections must be previously created and available.
5. Generate Nodes
Once the connections are mapped, Crestone will automatically generate all required nodes based on the imported configuration. The names of the nodes will be applied exactly as they appear in the original export.
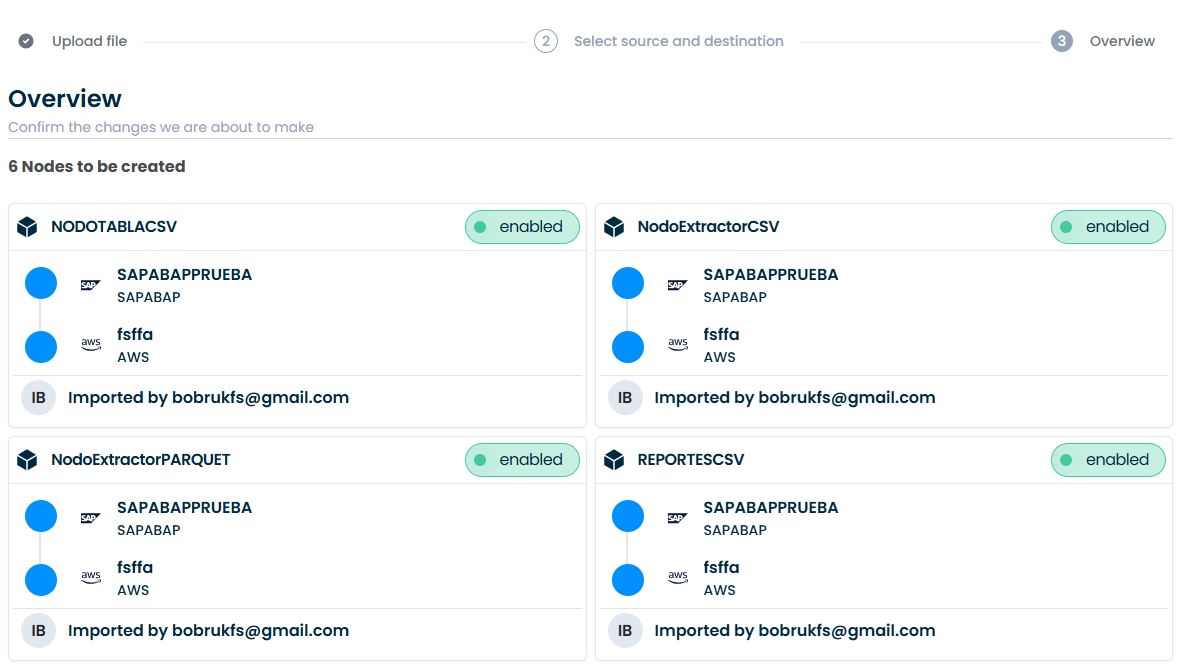
6. Review Summary
Just like in the template flow, you’ll see a summary screen showing all the nodes and job steps that will be created. This gives you a final chance to review before proceeding.
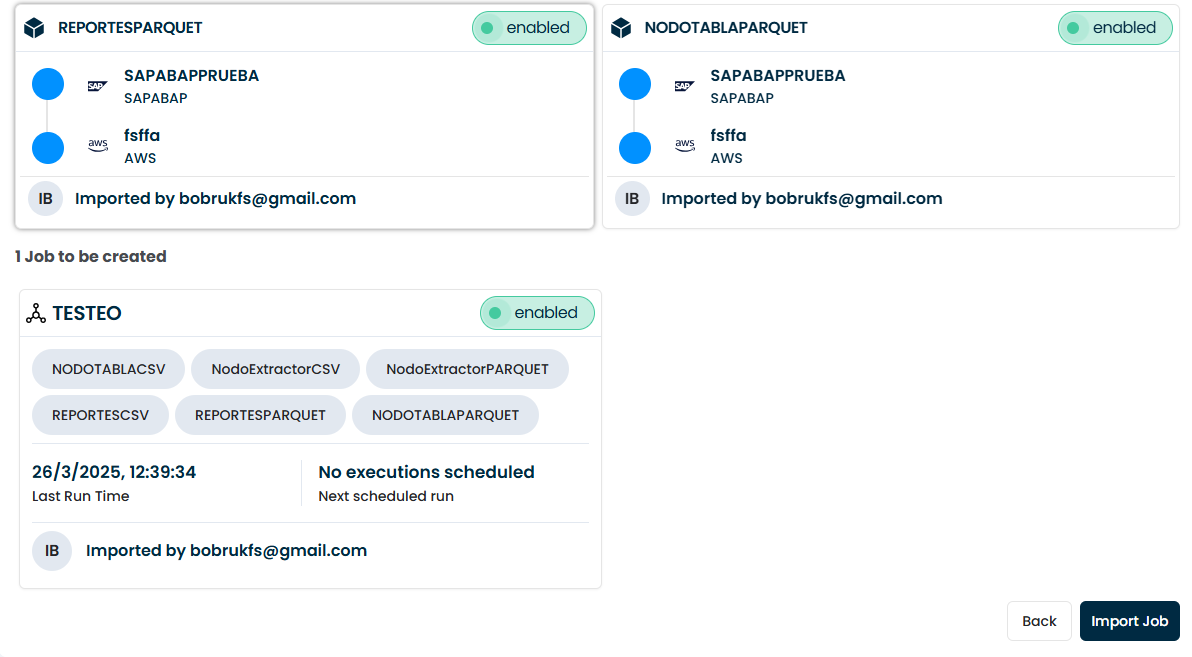
Once confirmed, your job is ready to use. You can modify it using the visual editor or schedule it for execution as needed.