Workspaces
Workspaces
Organize your connections, nodes and jobs in collaborative environments.
What is a Workspace?
A workspace is an isolated environment inside your company (tenant) where a team organizes its own connections, nodes, jobs, logs and alerts. Resources created in one workspace are not visible from another, so different teams or projects can share the same Crestone installation without interfering with each other.
When your company is created, Crestone provisions a base workspace by default. You can create as many additional workspaces as your plan allows.
👉 Everything you configure in Crestone — sources, destinations, nodes, jobs, alerts — always belongs to the workspace that is active at that moment.
Create a new workspace
1. Open Settings
Go to Settings in the side menu and select Workspaces.
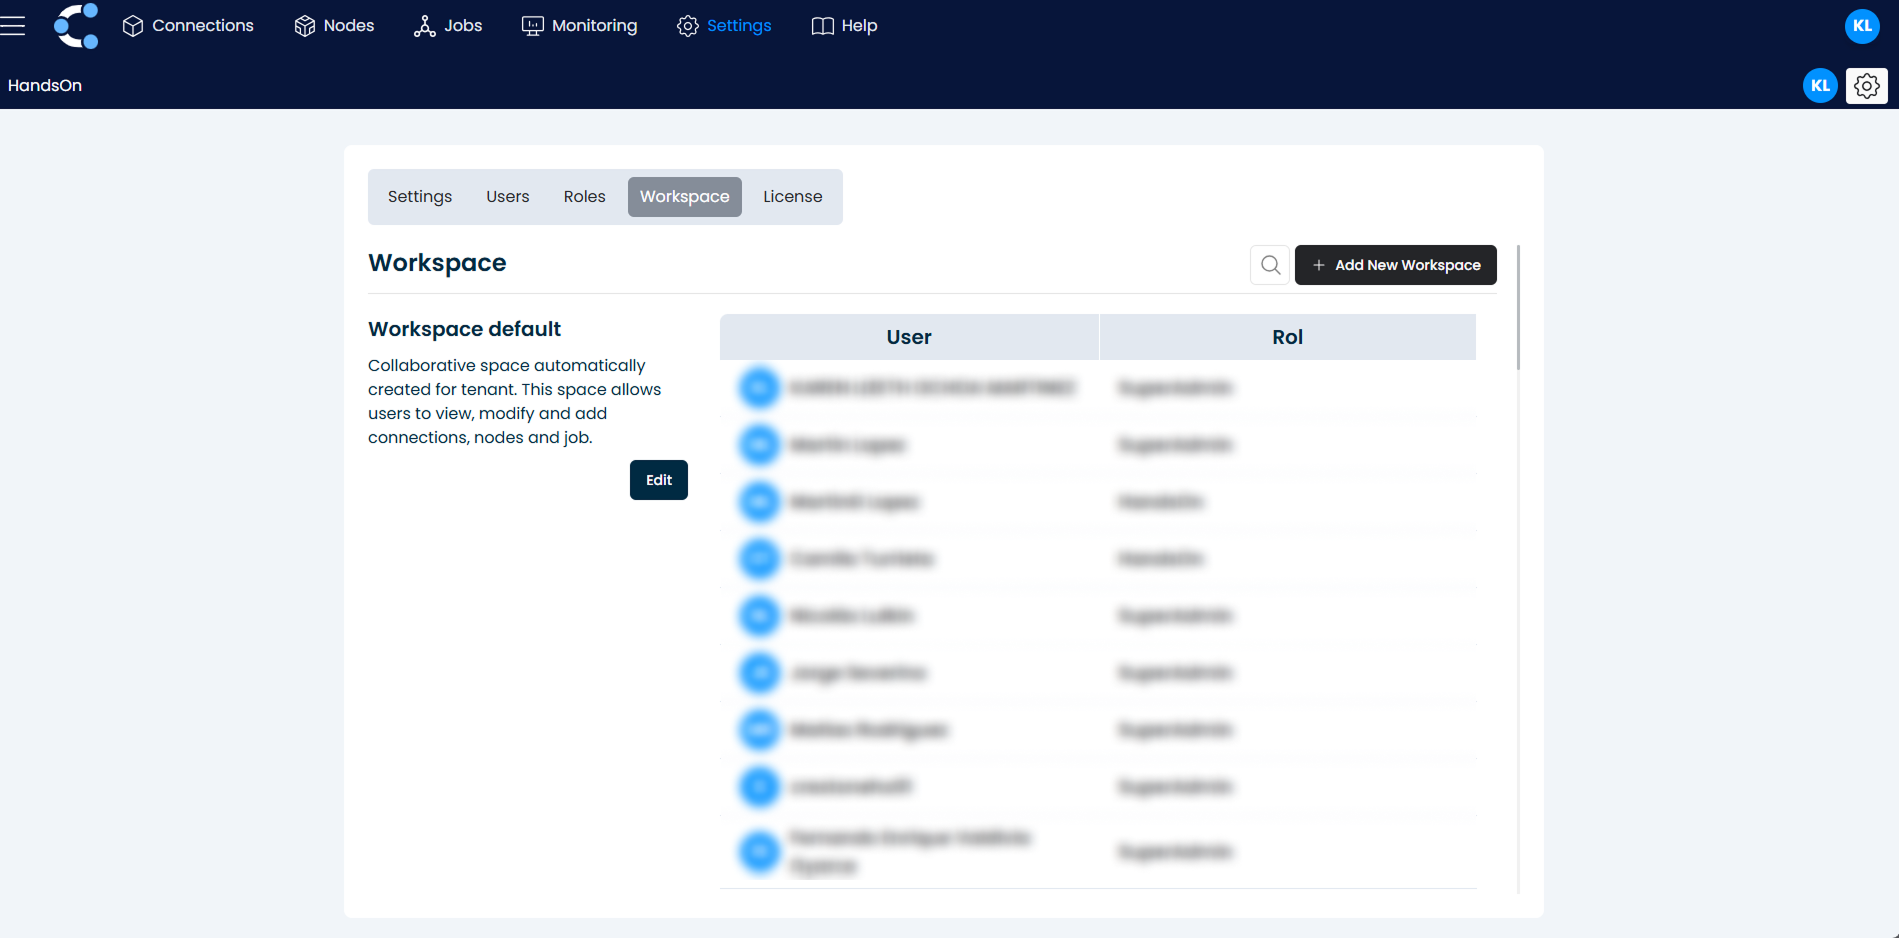
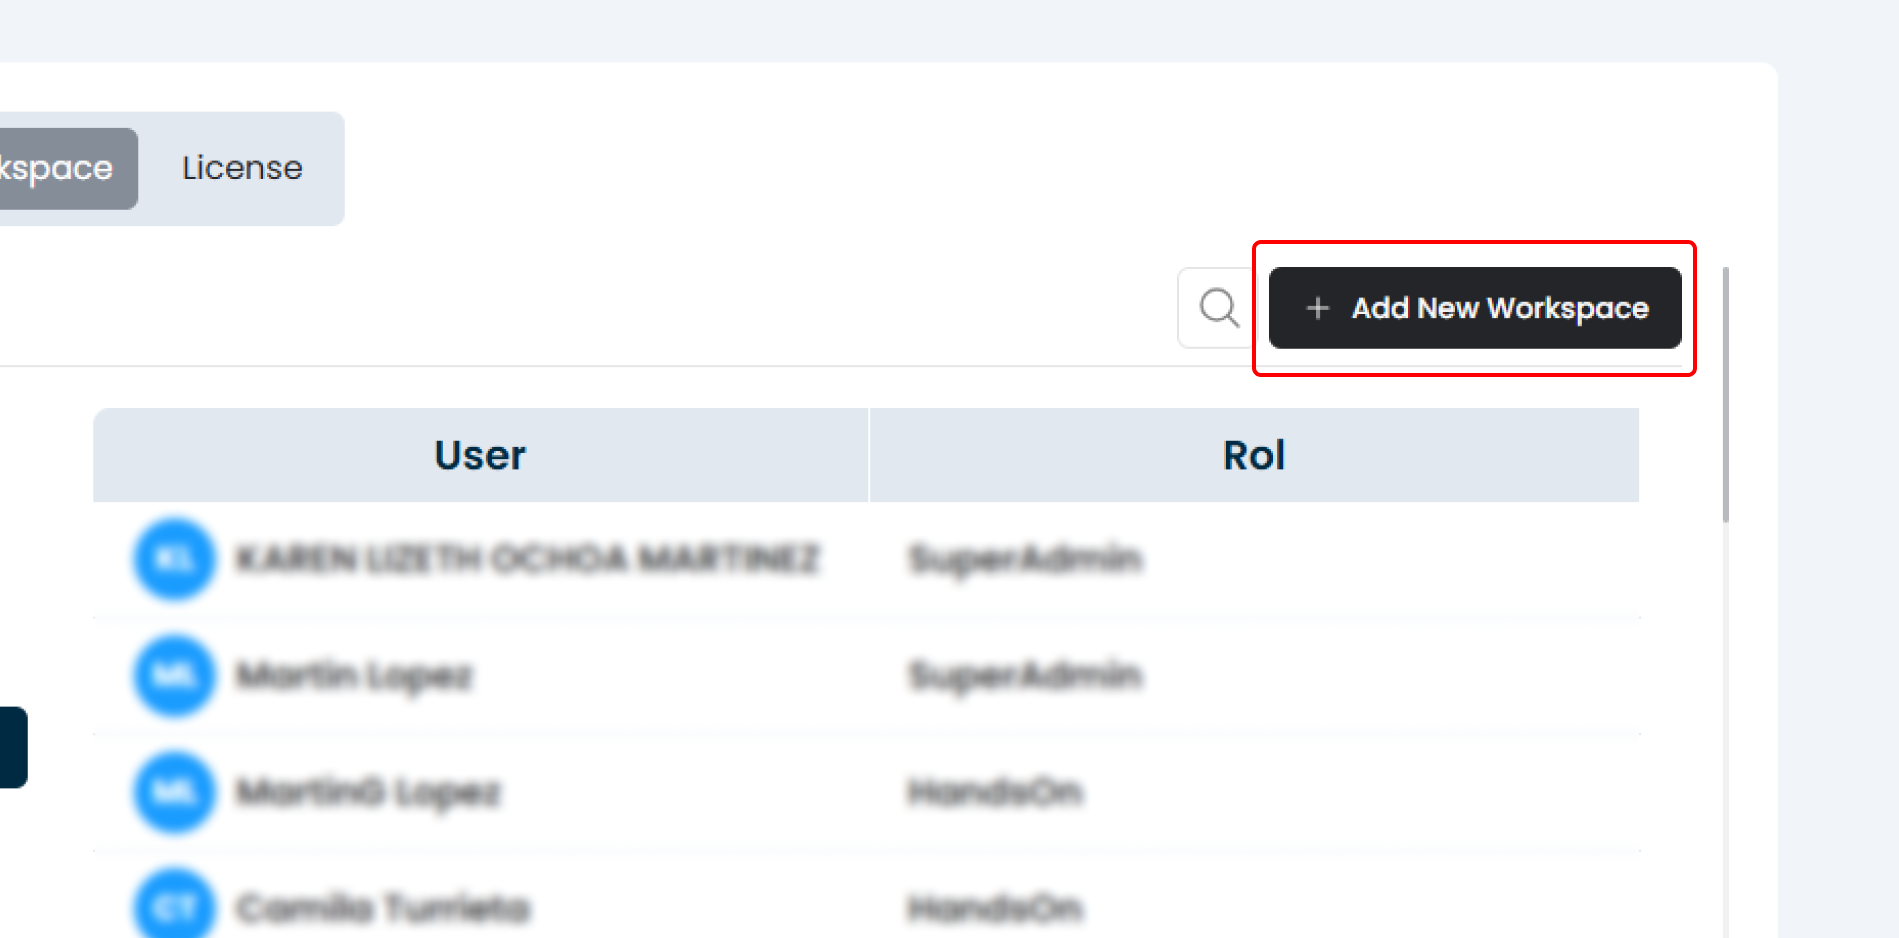
2. Add the workspace
Click the "+" button, enter a name for the new workspace and confirm.
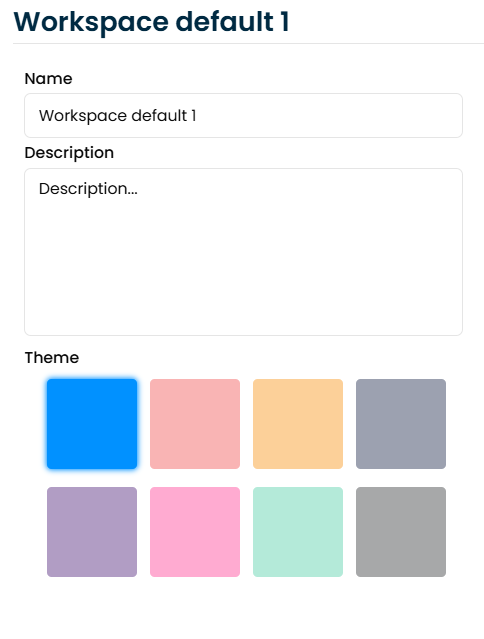
3. Naming
Add the name and description for the workspace.

4. Add members
Select the workspace and add the users that will work in it, assigning a role to each one. See Users and Roles for details.
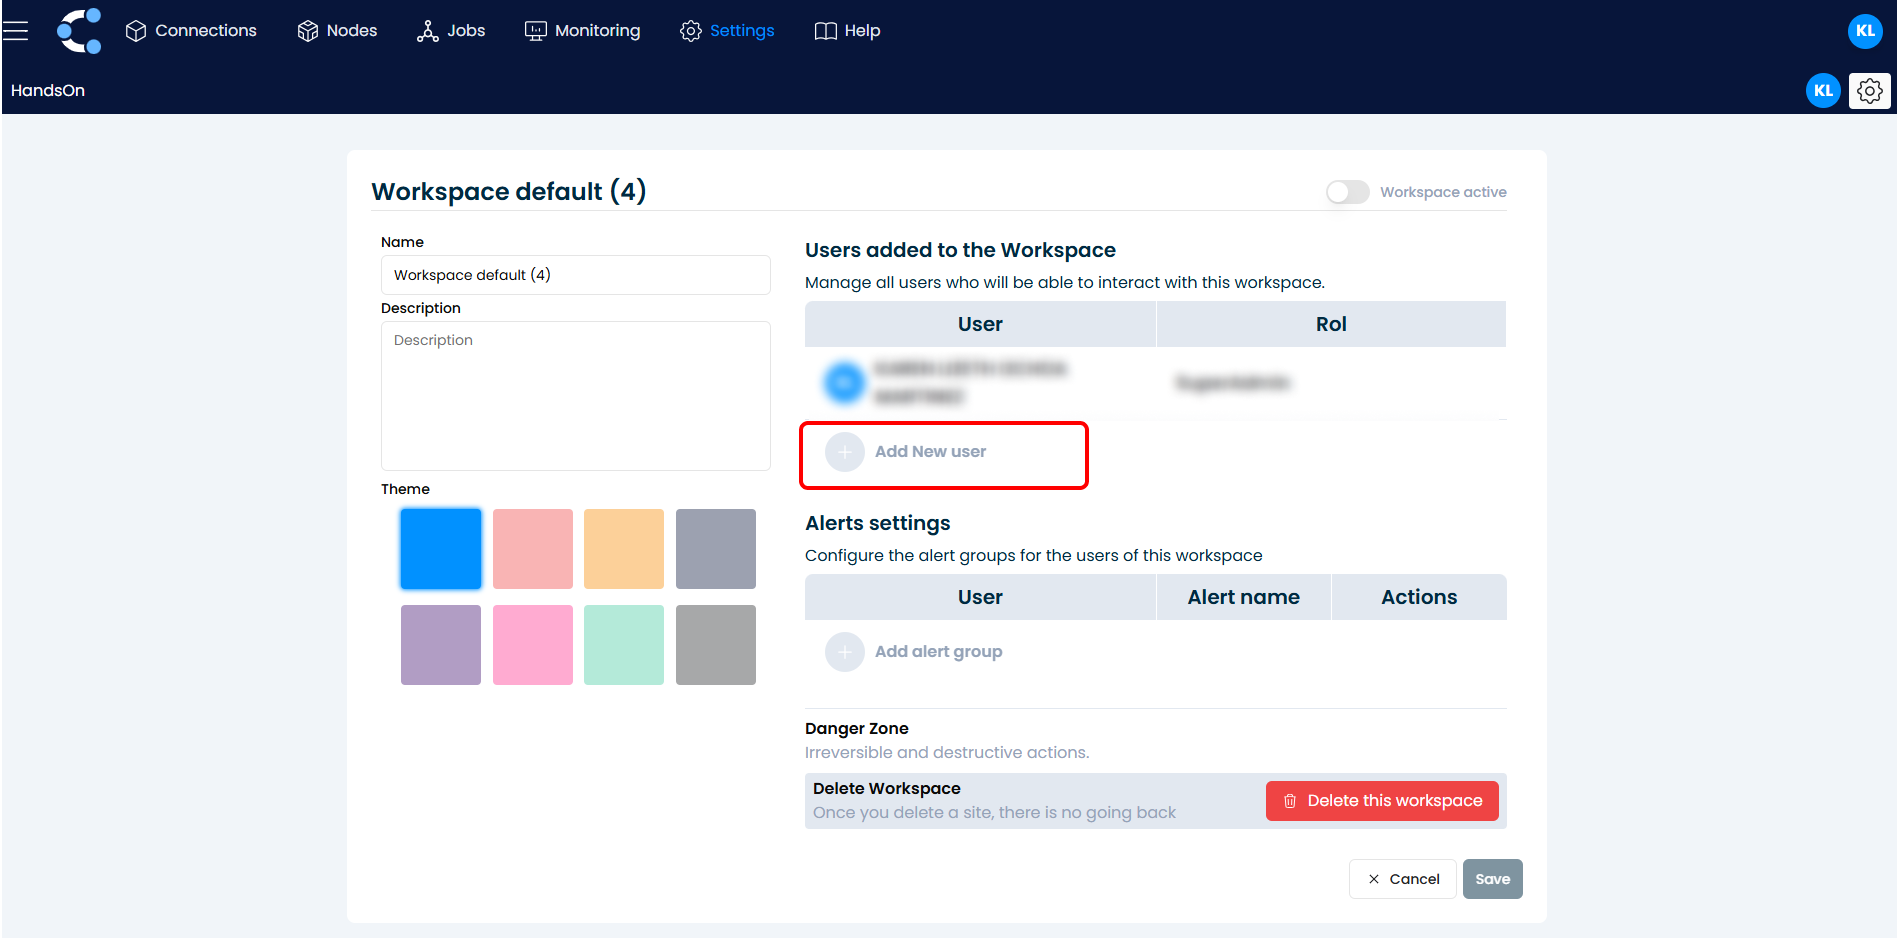
And that's it! The workspace is ready to use.
Switch between workspaces
Use the workspace selector in the top bar to change your active workspace. The interface reloads showing only the connections, nodes, jobs and logs of the selected workspace.
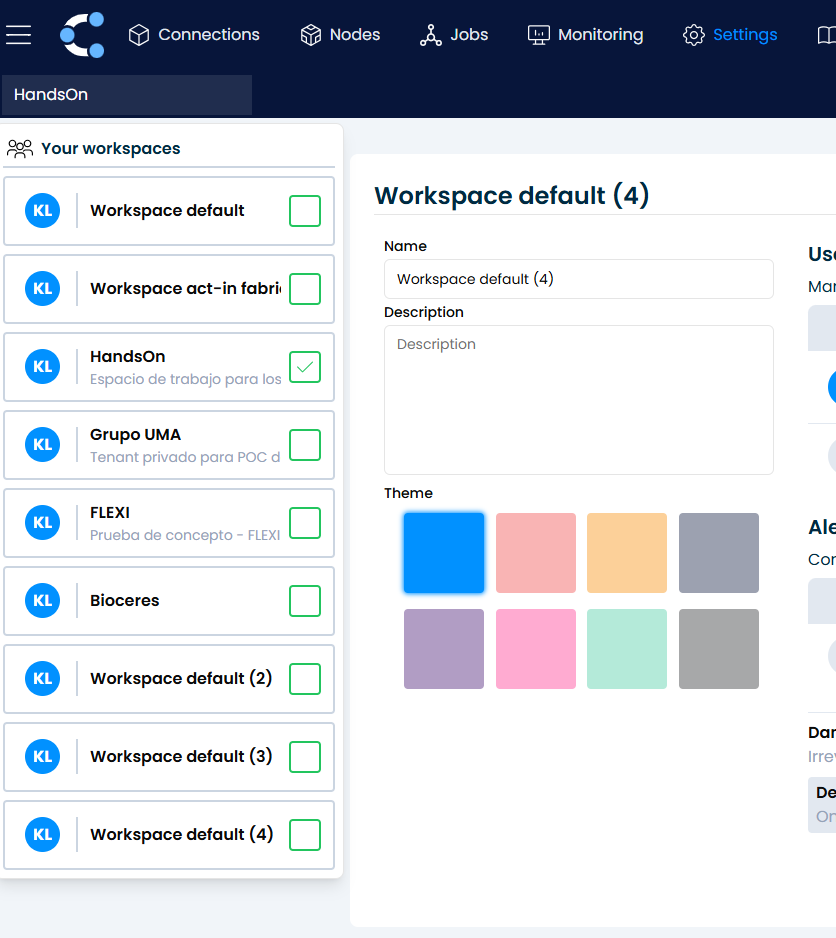
Preferred workspace
Each user has a preferred workspace: the one loaded automatically after signing in. It is set to the first workspace you join and you can change it from your profile settings.
Good to know
- Isolation: a user only sees the resources of the workspaces they are a member of.
- Base workspace: the default workspace of the company cannot be deleted.
- Alerts and logs: alert rules and activity logs are configured and stored per workspace.